This is an old revision of the document!
Installation
Manual Installation
In case you have no access to the Installer Tool, you can still install the package yourself.
Please follow the instructions.
Download the latest package
You can download the latest Developer-Edition packages for your specific Delphi DX version at
- official: https://gorilla3d.de/files/
Check out the “packages” folder, choose your Delphi IDE version and download the highest version.
Latest Package (for 10.4.1): https://gorilla3d.de/files/packages/10.4.1/Gorilla3D_Delphi_C%2B%2B_10.4.1_0.8.2.1675.zip
The Developer-Edition is free for development purposes and max. 5 developers. When releasing your project you need to purchase the Release-Version!
The free developer-edition contains the same features like the release version, it only contains multiple watermarks.
Unpack and configure
Download the zip-archive and unpack anywhere (<installation-directory>).
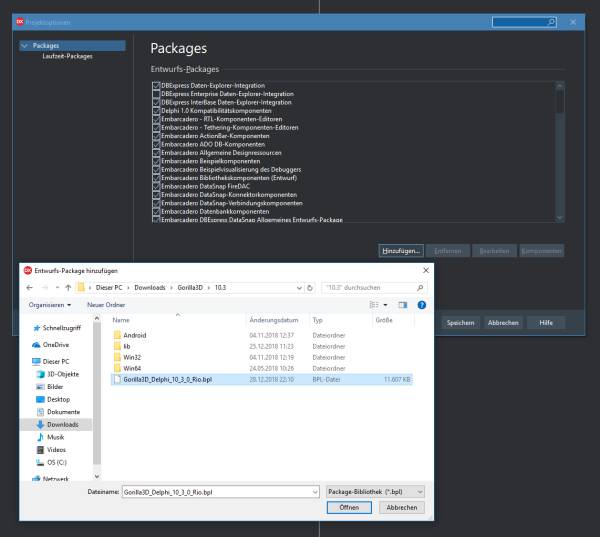
In Delphi IDE go to:
- Menu: Components > Install packages
- Select the package file “Gorilla3D_Delphi_10_X_X_X.bpl” from “<installation-directory>\Win32\Release” depending on your IDE version.
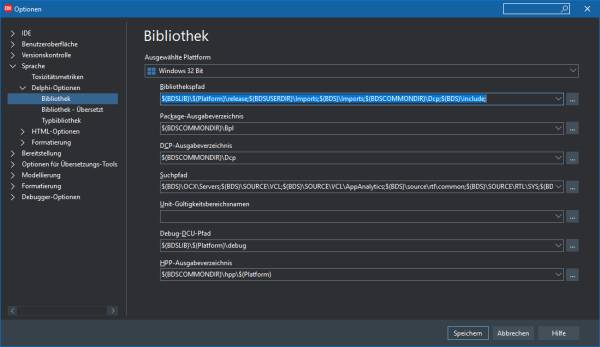
Delphi 10.3
To insert DCU's go to:
- Menu: Tools > Options > Language > Delphi-Options > Library
- Select “Windows 32-Bit” platform on top
- Go to “Library-Path” input field and add the “<installation-directory>\Win32\Release\”
- Repeat this analog for “Windows 64-Bit” and “Android” platforms
Delphi 10.1 - Delphi 10.2
To insert DCU's go to:
- Menu: Tools > Options > Environmentoptions > Delphi-Options > Library
- Select “Windows 32-Bit” platform on top
- Go to “Library-Path” input field and add the “<installation-directory>\Win32\Release\”
- Repeat this analog for “Windows 64-Bit” and “Android” platforms
Notes
After package install and path configuration we recommend to:
- Close the IDE
- Kill “adb.exe” process in task manager
- Restart the IDE
- Open an existing Gorilla3D project
WARNING: Sometimes the IDE do not load the Gorilla3D package on startup, especially when creating a new / empty project. Then the IDE do not register all Gorilla3D classes and do not use the correct OpenGL context for design-time rendering!
In case you do not have an existing Gorilla3D demo/application:
- Start the IDE with installed package and configured paths
- Create a new and empty FMX application
- Drag & drop a TGorillaViewport, TGorillaCamera and TGorillaLight onto your form
- Save the project
- Close the IDE
- Kill “adb.exe” process in task manager
- Restart the IDE
- Load your previously created application
REMARK: Was solved since v0.8.3.1846.